
Home Gym Setup Guide: Space, Flooring, Power and Installation Checklist
Setting up a home gym properly means confirming three measurements before delivery day, laying flooring before the frame goes down rather than after, and deciding upfront whether you are assembling it yourself or booking professional installation.
Getting these in the wrong order is the single biggest reason people end up redoing part of the setup within the first month.
Before You Buy: Measure Your Space
Floor Footprint and Clearance
Measure the clear floor length and width where the machine will actually sit, then add roughly half a metre to one metre of clearance on every open side. This clearance is for the pulley arms during cable movements and for safely getting on and off each station, not just for the machine's static footprint.
Ceiling Height
Most multi-station gyms need a minimum ceiling height of around 2.1 metres to clear the overhead pulley arms during lat pulldown and similar movements. Measure at the exact spot the machine will stand, not just the room's general height, since sloped ceilings and garage roller doors can reduce clearance at one end of a room.
Doorway and Stairwell Access
Multi-station frames usually ship in sections, but the largest panel can still be wider than expected. Measure your narrowest doorway and any stairwell the packed carton needs to travel through before ordering, since this is one of the most common reasons deliveries get stuck at the front door rather than the room itself.

Flooring: What to Lay Down Before Assembly
Rubber gym flooring tiles or interlocking mats are the standard choice under a home gym because they protect the subfloor from point loads and dampen noise and vibration from the weight stack. Lay flooring down before the frame is assembled on top of it, not after, since moving an assembled multi-station gym to fit flooring underneath it afterward is far more difficult than doing it in the right order. A single colour run edge to edge under and around the machine also holds up better over time than a patchwork of mismatched mats pieced together after the fact.
Power and Electrical Considerations
A standard cable and pulley home gym does not need power to operate. Where power matters is smart or app-connected training equipment, which does need a nearby outlet, so check the specific model rather than assuming a power point is unnecessary. If you are placing a home gym near a treadmill, rower, or other cardio equipment on the same circuit, route power cables away from the machine's walking or sliding path so cords are not underfoot during a session.
Tools and What Comes in the Box
Most home gyms ship with the allen keys and spanners needed for assembly. What is not usually included, and is worth having ready before delivery day, is a rubber mallet for aligning frame sections, and a second pair of hands, since multi-station frames are genuinely a two-person job to assemble safely.
DIY Assembly vs Professional Installation
Self-Assembly
Self-assembly is possible with two people and basic tools. The part most people rush is the cable routing and pulley tension, which should be checked carefully against the manual before first use, since an incorrectly routed cable is a safety issue rather than just an inconvenience.
Professional Installation
Professional installation of a multi-station home gym typically takes a few hours per unit, depending on station count and site access, and is faster than most self-assembly attempts. This is the better option if you would rather not spend a weekend on assembly, or if your unit is a larger five-station or commercial-grade frame where correct cable routing matters even more. World Fitness Australia offers professional installation Australia-wide.
Setup Checklist, Step by Step
- Measure floor footprint, ceiling height, and doorway or stairwell access at the exact spot the machine will stand.
- Order flooring sized to the footprint plus clearance, not just the machine's base dimensions.
- Lay flooring down completely before the frame arrives or is assembled on top of it.
- Confirm whether the model needs a nearby power outlet, and plan cord routing away from moving parts if so.
- Decide between self-assembly or professional installation before delivery day, not after the carton arrives.
- If assembling yourself, have a rubber mallet and a second person ready, and read the cable routing section of the manual before starting.
- After the first week of use, check that all bolts and fittings are still fully tightened, since initial use tends to settle the frame slightly.

Anchoring and Stability
Most home gym frames are stable on their own floor stabilisers without anchoring. Wall or floor anchoring can be added on concrete for extra stability if the unit will see very heavy daily use, but it is not a standard requirement for typical home use.
Common Setup Mistakes
-
Ordering flooring after the frame is assembled. This turns a simple flooring job into a two-person disassembly and reassembly task.
-
Measuring the room but not the exact spot. Sloped ceilings, roller doors, and support beams can reduce clearance at one specific point even when the room's general dimensions are fine.
-
Skipping the manual's cable routing section. This is the step most commonly rushed during self-assembly, and it is the one most likely to cause a real safety issue if done incorrectly.
-
Forgetting the doorway check. A machine that fits the room can still fail to reach it if a hallway or stairwell is narrower than the packed carton.
Where to Get Help
This is the only section carrying product, service and collection links, kept in one place rather than scattered through the article.
|
If you want |
Start with |
|---|---|
|
Professional installation instead of self-assembly |
|
|
A compact multi-station gym to plan your space around |
|
|
A model with leg press to include in your space plan |
|
|
Browsing the full range before you measure |
Plan Your Space Around These Models
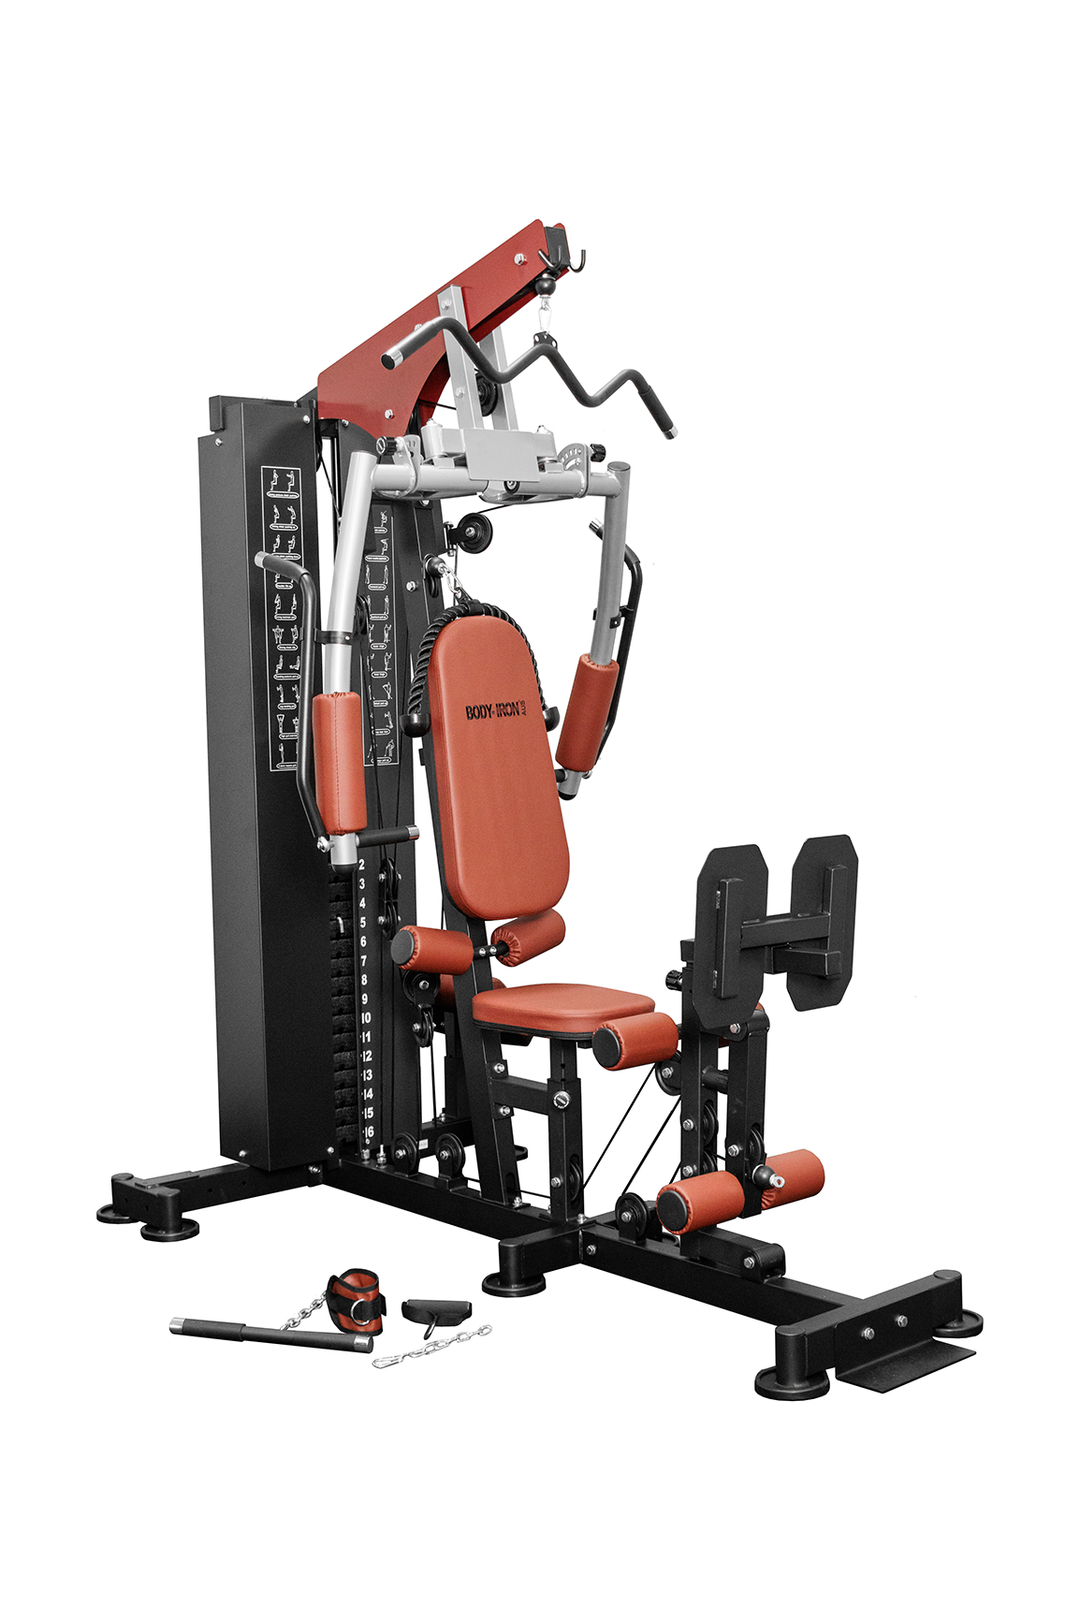
A spread of footprints and budgets to measure against while you plan, from compact to full 5-station.



Would rather skip assembly entirely? World Fitness Australia offers professional installation Australia-wide.
VIEW INSTALLATION SERVICES
Frequently Asked Questions
Q. What flooring is best under a home gym?
A. Rubber gym flooring tiles or interlocking mats are the standard choice under a home gym because they protect the subfloor from point loads and dampen noise and vibration from the weight stack.
Q. Does a home gym need a power outlet nearby?
A. A standard cable and pulley home gym does not need power, but smart or app-connected training equipment does, so check the specific model before assuming a nearby outlet is unnecessary.
Q. How long does professional home gym installation take?
A. Professional installation of a multi-station home gym typically takes a few hours per unit, depending on station count and site access, and is faster than most self-assembly attempts.
Q. What is the ceiling height needed for a multi-station gym?
A. Most multi-station gyms need a minimum ceiling height of around 2.1 metres to clear the overhead pulley arms during lat pulldown and similar movements.
Q. How much clearance space do I need around a home gym?
A. Roughly half a metre to one metre of clearance around the frame is generally enough for pulley arms, seated movements and safe entry and exit from each station.
Q. Can I set up a home gym myself without professional help?
A. Yes, self-assembly is possible with two people and basic tools, though the cable routing and pulley tension should be checked carefully against the manual before first use.
Q. What tools are needed to assemble a home gym?
A. Most home gyms ship with the allen keys and spanners needed for assembly, though a rubber mallet and a second pair of hands make aligning the frame sections considerably easier.
Q. How do I anchor a home gym safely on a garage floor?
A. Most home gym frames are stable on their own floor stabilisers without anchoring, but wall or floor anchoring can be added on concrete for extra stability if the unit will see very heavy daily use.
Checkout more on Home Gym collection to know more about our products.
Leave a comment